


5 Tips for Building a Log Cabin from Scratch
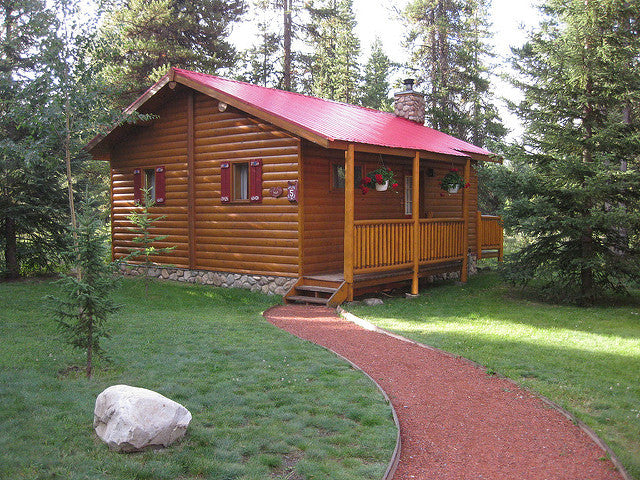
Few homes are as romantic as a log cabin. These classic pioneer dwellings connect us to nature and remind us of a simpler time, free of the stresses and fast pace of modern life. Whether you fancy living in a log cabin or love the idea of regular vacations in one of these rustic dwellings, this guide will help you build a log cabin from scratch.
Set Your Foundation
A log cabin is only as good as the foundation it's built on, so make sure you don't overlook this step. Pioneer cabins built without foundations were only meant to be temporary shelters. If you want your log cabin to last, a solid foundation is crucial. Stone foundations are traditional, but don't disregard block and concrete walls. They're easier to work with and experts claim they're just as good. Pour your piers and foundation at least 12 inches below the frost line to prevent heaving.
Add Sill Logs
Sill logs are the bottom logs in each wall. They're flat on the bottom, to help them sit flat against the foundation. Apply a layer of sill sealer material to the top of the foundations before laying down the sill logs to prevent air leakage. Once your sill logs are in place, measure corner to corner to ensure your layout is square. When you're satisfied, secure the sill logs in place with 12-inch spikes.
Lay the Floor
Many people prefer to add flooring before building the walls. Floor joists made from dimension lumber are easy to work with and create the flattest floor. However, rustic log joists are more affordable. Chisel slots in even intervals halfway through your side sill logs, then set the joists in place. Salvaged lumber planks can make a charming floor.
Build Up the Walls
Once you've got the footings and floor in place, build up your cabin's walls. Remember to cut notches into the end of each log so that it will fit neatly into the adjacent logs. Dovetail and Lincoln-log notches are popular, but they can collect rainwater which can cause the logs to rot in wet areas. One-sided saddle notches don't cause this problem, although they aren't quite as stylish. Face a nail ramp on the side wall of each log and raise it up with block and tackle. Remember to leave space for a door.
Add Finishing Touches
Most log cabins feature roofs supported by either purlins or rafters. Once you've attaches these you can add roofing boards, followed by roofing felt and shingles made from asphalt or cedar. Commercial window and door frames are easy to work with. Allow 3/8 of an inch of clearance for each vertical foot of opening above these frames for the logs to settle. Since your log cabin will be exposed to the elements, you should treat it with a UV Guard exterior wood finish. This will help protect your logs from the sun's harmful rays. Reapply every five years to extend the life of your logs.
It might seem daunting at first, but a log cabin is one of the simplest homes you could ever create. Few things will compare to the satisfaction you'll feel when you spend time in the log cabin you've built with your own two hands.
Featured image via Flickr by Phillie Casablanca.


